KITCHEN: stove
Before the stove could be installed the hearth needed to be rebuilt. A solid hearth needs to extend 300mm in front of the stove door. This was reasonably straightforward and was basically like a mini floor slab. I just repeated the layers I had used for the extension. We opted for small black quarry tiles that would sit flush with the new oak floor. We thought the flush floor would look smart and although it can be good to have a fender around your hearth we though the trip hazard might be more of a risk than the sparks. One of the beauties of a wood burner is that you have the real fire, but everything is contained.
Once we had completed the hearth to the HETAS specifications we had to install an air brick to the side and a carbon monoxide detector. The air brick is for the combustion air for the stove. Depending on the stove you install there is a Minimum Free Air capacity requirement that is specified in the regulations. A standard air brick is big enough for most stoves. The brick itself has to be at the front of the stove. It can't be hidden at the back because of the danger of embers being blown forward. We installed ours on the outside of the chimney breast with a periscope down to the ventilated floor.
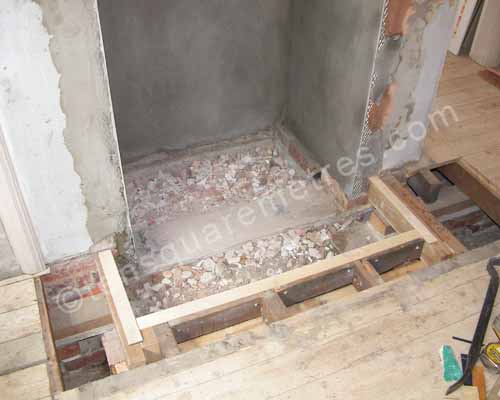 April 2011: The rebuilt joists act as shuttering for the hearth. We also installed a damp proof membrane below the concrete.
Stoves aren't cheap. For our Charnwood Cove 2 plus installation it was about £3000 and that was with us doing most of the donkey work for the fireplace. There aren't many shortcuts that you can make with this. There are regulations and safety to consider. There is also the chimney. We needed a new chimney pot as well as a relined flue for our installation. I don't have a good head for heights and the process involved some rather scary scaffolding so either way I would have needed to pay someone to do this. The scaffolding alone was £500. The company we chose weren't the cheapest but they did a great job and all in all we thought it was money well spent.
The other important consideration with a wood burning stove is that they burn wood. Lots of wood. Even if you get split logs delivered (which can be very expensive) you will still need a log store outside and supplies of kindling. The stove is wonderful. We chose a Charnwood Cove 2 for it's contemporary (but not too contemporary) looks and it's big glass window. It kicks out a fantastic amount of heat and looks beautiful. It's easy to light and the glass stays clear, but you do need to get a shed load of wood to keep it going.
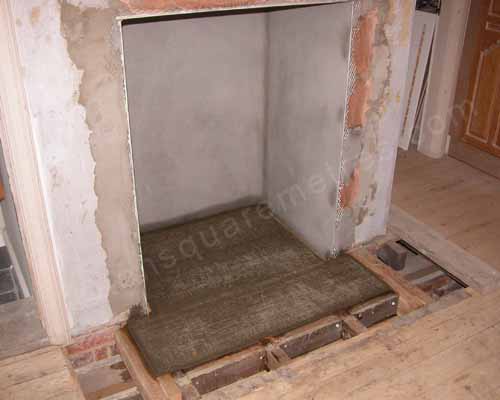 April 2011: The rebuilt hearth. The level of the concrete was set just above the rafters so the tiles would sit flush with the floorboards.
We have opted for the "opportunist logs" strategy to fuel our stove so I now own a chain saw and a splitting maul. My chainsaw is a petrol Husqvarna. Along with the saw itself you need some protective gear - at least a hat and something for your legs. I invested in some boots and gloves too. My Husky is a serious piece of kit. We have scrounged a couple of unwanted felled trees so far which have been processed and stored. You need to get a couple of seasons ahead and then just keep the flow going. One of the advantages of my project taking a ridiculously long time is that I have been saving up wood for a couple of years. My neighbour's dead cherry tree from the Christmas before last has kept us warm through the first winter with the stove.
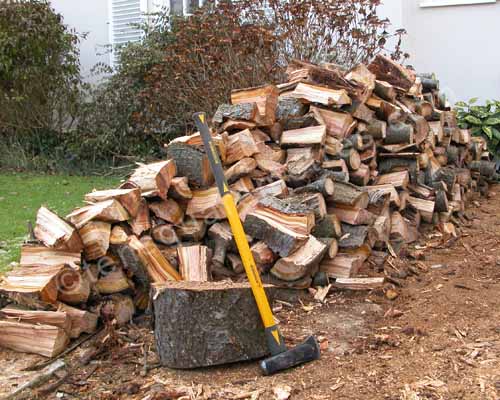 December 2010: Split logs from our neighbour's dead cherry tree. This easily lasted through the first winter with the new stove.
Other useful things you might consider for a stove include a moisture meter to check how dry your logs are and a stove thermometer. Freshly cut logs have a moisture level of about 45% and this needs to come down to about 18% before they will burn properly in your stove. It's the sap in the wood (not dampness) that is the problem and it can take a year or two of seasoning outside before freshly cut logs are ready to burn.
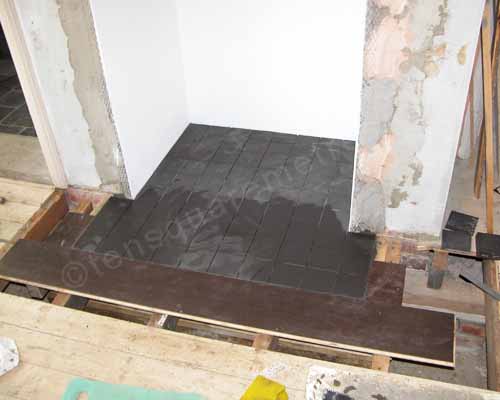 April 2011: Black quarry tiles in the hearth flush with the new floorboards.
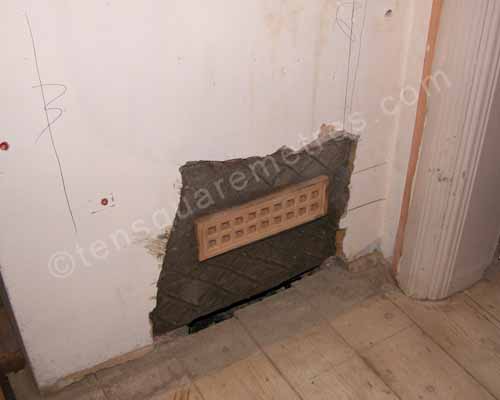 April 2011: This is the air brick in the side of the chimney breast for the combusion air.
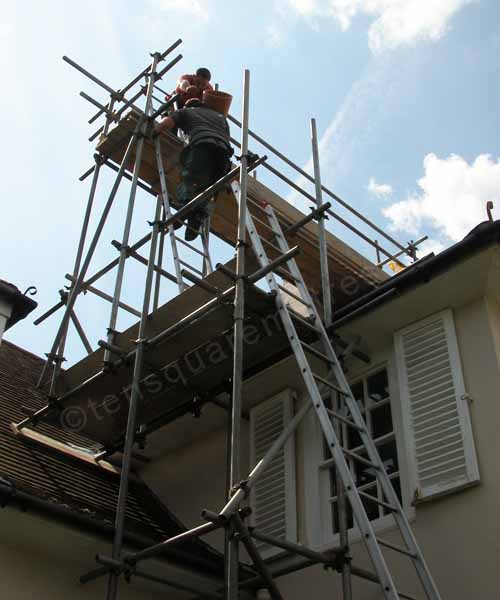 April 2011: Fitting the chimney pot. I don't have a good head for heights and the process involved some rather scary scaffolding so needed to pay someone else to do this.
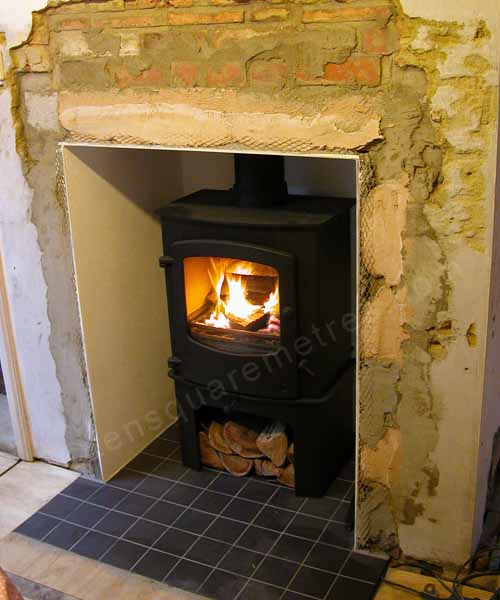 April 2011: Once everything had dried out we could finally test the Charnwood Cove 2 stove. The Cove 2 generally gets very good reviews for everything except keeping the fire in overnight.
If you have found this website useful please tweet / like / etc... and pass it on!
© 2010- tensquaremetres.com | Privacy | Search | Contact | About