UTILITIES: screed
The main obstacle to the floor screed was the ducting. We wanted to run various pipes around the room so we needed to install some in-screed ducting to allow for this. The ducting comes in 3m lengths with plywood strips to close the tops. Once the ducting is in, you install your pipe work and wiring and then just tile over the top. It seemed slightly weird concreting over the insulation. You make all these solid layers and then put in all this spongy polystyrene stuff. For our floor we installed D49 mesh (100 mm mesh with 2.5 mm wire). This wasn't a Building Control requirement because our screed was over 50 mm thick but we wanted to add some strength around the ducting.
 March 2010: We installed 85 mm of polyisocyanurate thermal insulation (PIR). You can just lay this out in sheets and tape it together.
To meet the Building Regulations for the floor slab we needed to install 85 mm of Celotex polyisocyanurate thermal insulation or similar. You simply lay this out in sheets and tape it together. There is a way up and a way down for this stuff but I think this is just to do with the adhesion of the tape. This is the same material that I used for the roof insulation. It comes in various gauges and is easy to cut with a hand saw.
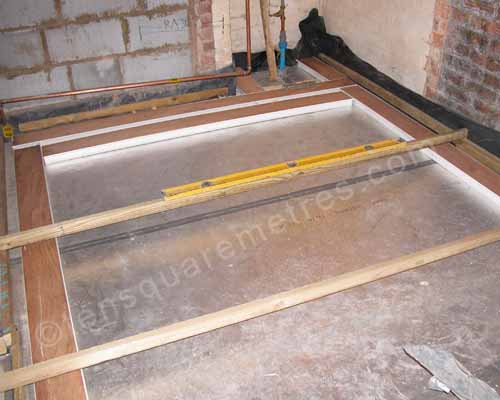 March 2010: We installed some in-screed ducting for the pipework around the room. This is just plastic channelling with a plywood lid.
I fixed batons along the wall to give me my level for the concrete and then layed out the in-screed ducting. We needed provision for the flow and return to the new boiler, the mains water in and hot water out at the boiler plus hot and cold to the sink. The hot and cold also needed to head off across towards the position of the new kitchen sink. All the other pipework could go up and down in the recess above the stopcock. This will be blocked in when we come to do the utility room. It's really important to be designing the finished spaces well in advance for a project like this. You can hedge your bets up to a certain point but sooner or later you have to concrete over something.
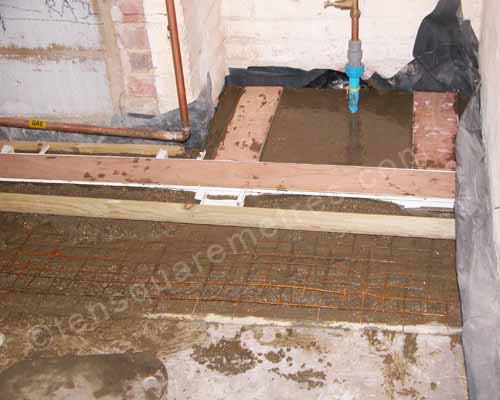 March 2010: We installed D49 mesh (100 mm mesh with 2.5 mm wire) to add some strength around the ducting.The floor in the corner would also need to take the weight of the boiler.
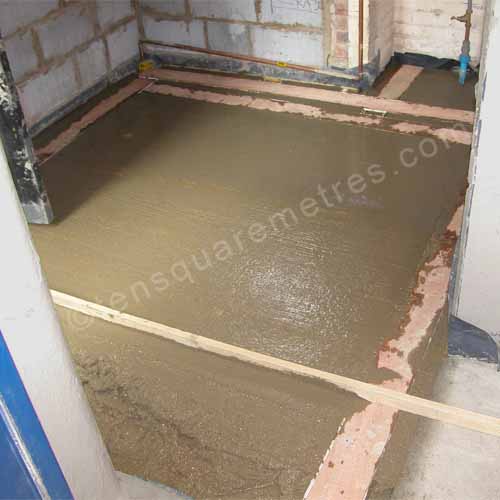 March 2010: We used a 3:1 mix with building sand for the floor screed. Advice for this varied but with the large boiler and ducting we wanted the screed to be fairly robust.
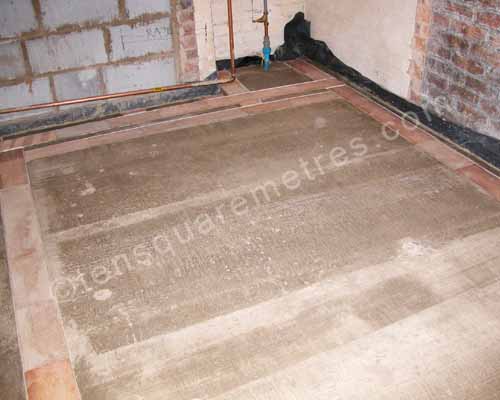 March 2010: The finished floor screed. The pipe across the back is the temporary gas connection to the old boiler.
If you have found this website useful please tweet / like / etc... and pass it on!
© 2010- tensquaremetres.com | Privacy | Search | Contact | About