WALLS: build
Obviously I had had already started the walls in order to get to the floor slab so this was just a case of onwards and upwards. The key difference now was the introduction of the lightweight Celcon blocks for the inside skin and and the insulation in the cavity. The first obstacle to get passed was the damp proof course. The DPC does exactly what you would expect. It's a thin layer of waterproof membrane that runs through the wall above ground level and prevents moisture rising through the brickwork.
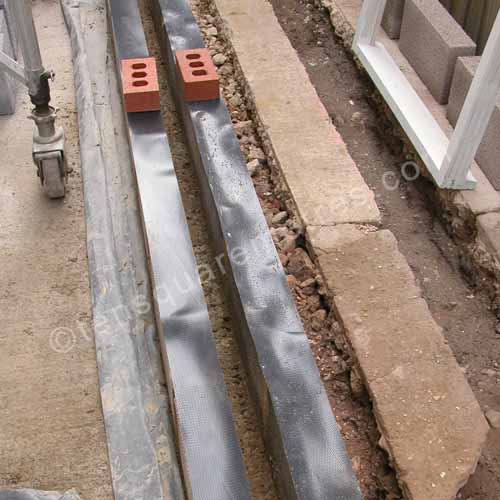 Aug 2008: The damp proof course needs to be 150 mm above the final outside ground level.
It seemed slightly weird to lay blocks along this piece of plastic. It feels a bit like the wall is going to fall over but there has to be a complete break in the porous materials. You can buy DPC in all the builder's merchants. It is cheap (about £5 for a small roll) and comes in different widths for different blocks and bricks. The membrane in the floor slab was taken up and over this to completely seal the new space. The DPC layer can be trimmed so it just protrudes a few millimetres from the mortar. On the outside I left it sticking out about 20 mm to allow for the render. The render would have a "plinth" (a small lip) at that level to match the existing house.
I needed to clean some of the old render off the existing house walls and screw on the wall starter ties. These are fixed with coach bolts and have horizontal metal ties that slot in as you reach each course. Once these were in place and I was passed the DPC, the progress up the walls was reasonably swift. I was fortunate to already own a scaffold tower which I had bought the previous year to decorate the outside of the house. These can be quite expensive (around £2000 for sturdy professional ones) but you can get them a lot cheaper second hand. An access tower of some sort should definitely be in the budget for anyone planning a project. Mine is an Alto tower. I bought it on Ebay for £400. Make sure you get a complete set for the height you need. You can check the manufacturer's website for a list of bits and assembly instructions.
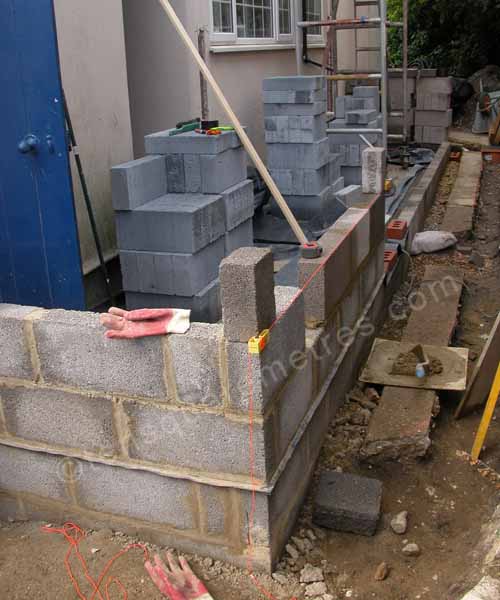 Aug 2008: The DPC layer can be trimmed so it just protrudes a few millimetres from the mortar. On the outside I left it sticking out 20 mm to allow for the render.
Although they are relatively quick to lay, the breeze block walls give a drab industrial look to your project. The final walls are also considerably higher before the roof goes on. This is because the rafters will actually come down over the top of the wall to form the soffit. It was about then that my extension got dubbed "Colditz" by one of my more skeptical neighbours.
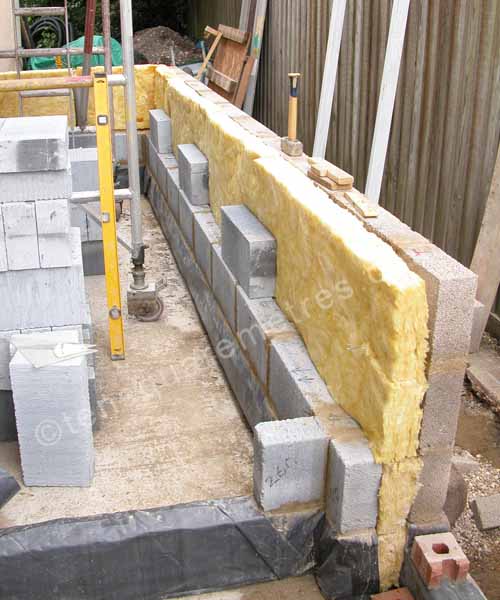
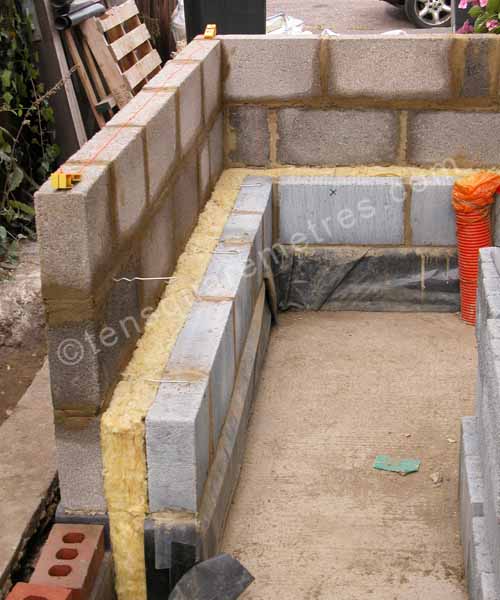 Aug 2008: The inside skin and the cavity insulation. Each strip of insulation is the width of two courses of breeze blocks.
 Aug 2008: The wall at the kitchen end of the extension.
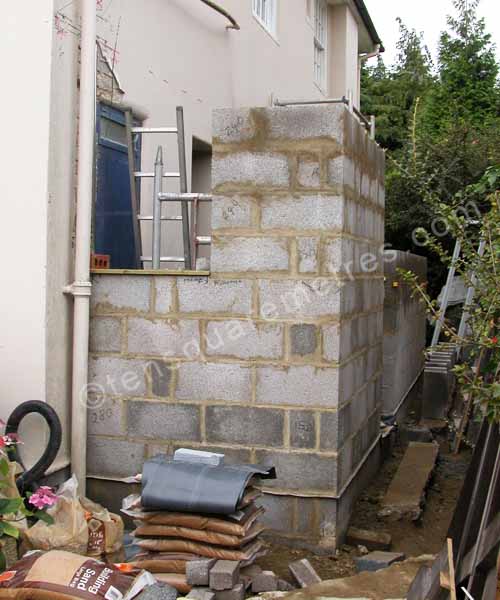 Aug 2008: As the build progressed I needed to enlist the help of my Alto scaffold tower.
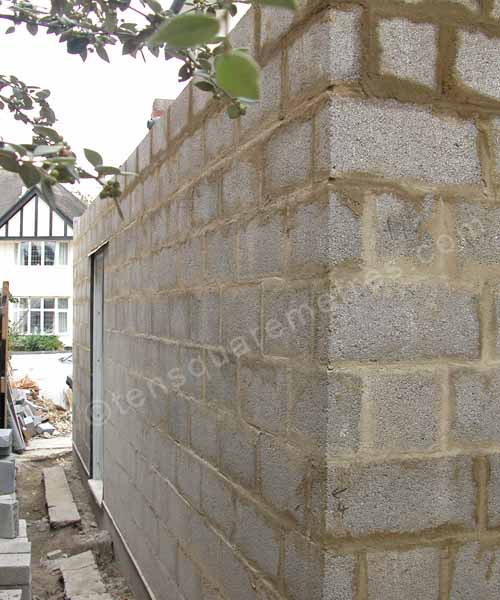 Aug 2008: The completed breeze block wall.
If you have found this website useful please tweet / like / etc... and pass it on!
© 2010- tensquaremetres.com | Privacy | Search | Contact | About