KITCHEN: substructure
From the outset of this project I had known that the kitchen floor would involve unifying the three different areas. There was the existing suspended floor, the new section in the extension and the old quarry tiles in the area left over from the demolished butler's cupboard. Having excavated the new hearth area for the stove I had been fairly confident that the original floor slab extended across the whole kitchen so I would just need to break out the quarry tiles, remove the old hard core and build back up for the floor structure. I had envisaged the hard work being the breaking up of the quarry tiles and then a fairly straightforward build and fix back to floor level.
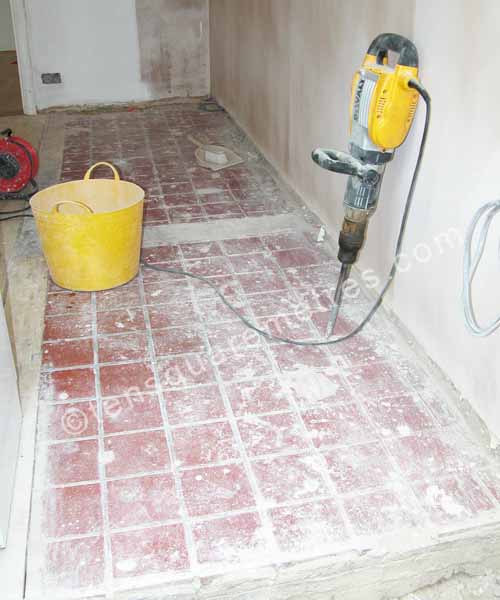 October 2011: These are the quarry tiles that were in the area of the old pantry (butler's cupboard) and larder. You can see the join in the floor that corrosponds to the original plans of the house from 1926.
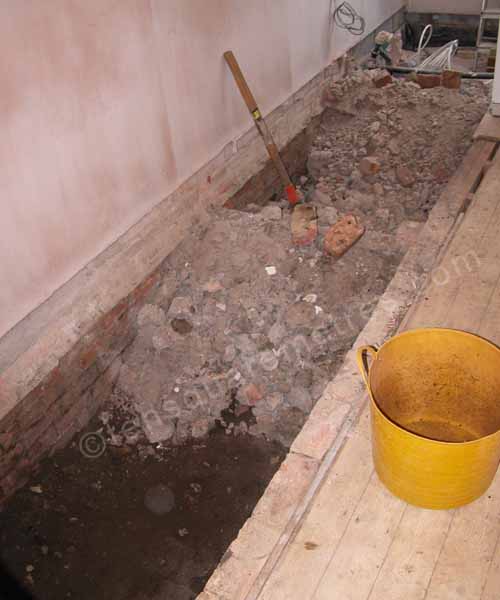
In the earlier sections of my account of this project I have mentioned some of the more challenging moments, particularly addressing the drains and restarting after the first winter, but my lack of substructure in the kitchen was probably the worst of the lot. The extension is essentially finished. I am in the end zone with the whole project and I just need to sort out the floor and put the kitchen in. Unfortunately, and to my utter dismay, there was no substructure beneath the quarry tiles. I dug through about half a metre of rubble and then to my utter horror I reached earth. Where I had expected to find the continuation of the concrete level that extends across the rest of the house there was just a gap. Rather than just shovel out some some hard core I would now have to install a completely new floor slab. Suddenly I was back to early 2008 and skips and concrete mixers. The clock was already ticking against getting the kitchen in as planned during the summer of 2011. This unwelcome handful of earth would scupper any hope of that and, realistically, set us back until Xmas.
I think I sat and stared at my hole in the kitchen floor for a good hour before continuing with the dig. I would now need to take the level done another half a metre and bring back all the hard core beneath a new concrete layer. All of this needed to be done bucket by bucket as I was now beyond the practical use of a wheelbarrow. One thing with any project on this scale is that there is no going back. At least I knew what I needed to do. It was back to the standard floor slab layers again. I also added in some mesh. Reinforcing probably wasn't necessary for this bit of floor but this was where some heavy bits of kitchen would be and the weight would be concentrated onto two lines of bricks at this point. For the concreting I bought bags of ballast to help with the logistics of being inside. With the concrete mixer right by the hole it was actually fairly straightforward and after a rather messy couple of hours I was back on track.
 October 2011: I used by Dewalt breaker to get through the tiles. Quarry tiles are particularly tough so this was quite a task. All the broken up concrete needed remoing bucket by bucket.
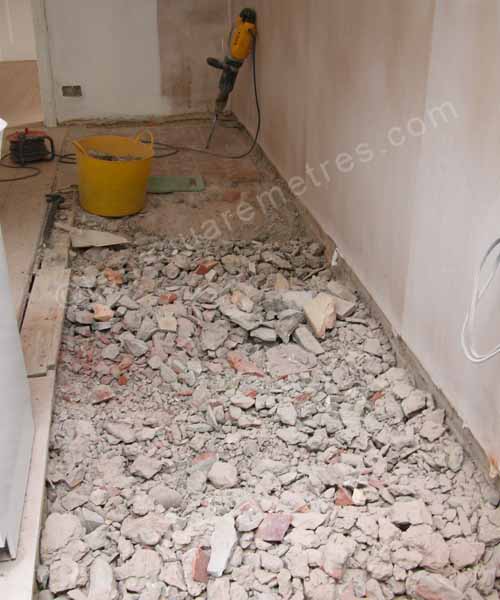
 October 2011: Due to to lack of concrete substructure we needed to dig much deeper than anticipated. The broken up concrete then needed to be recycled as hardcore.
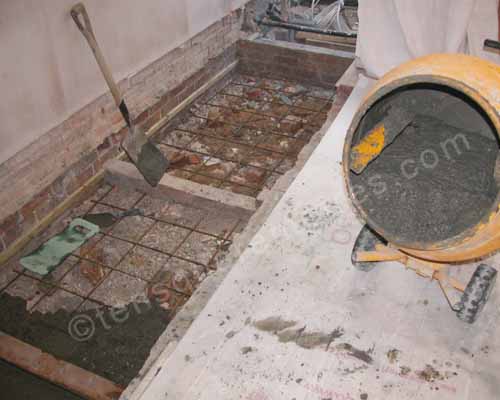 October 2011: We used A393 mesh which is 200 mm square mesh with 10 mm steel bars.
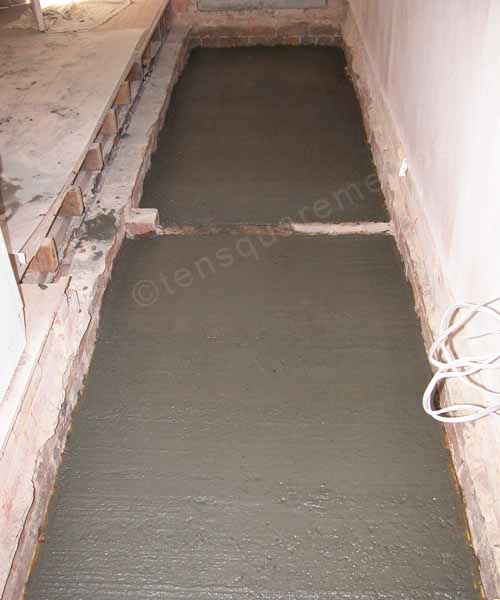 October 2011: The finished concrete.
If you have found this website useful please tweet / like / etc... and pass it on!
© 2010- tensquaremetres.com | Privacy | Search | Contact | About