ROOF: render
The rendering was one of the things that I left to the professionals. Rendering is skill and if you don't happen to possess that skill the results can be disastrous. Part of the rationale for attempting this project in the first place was that most of my walls would be covered up. Rendering is also relatively inexpensive compared with things like the RSJs and the glass roof. There was no strategic reason why the rendering was done at this particular point in the project. The wall was ready and the guys were available. The fee to render the whole extension including materials was £400.
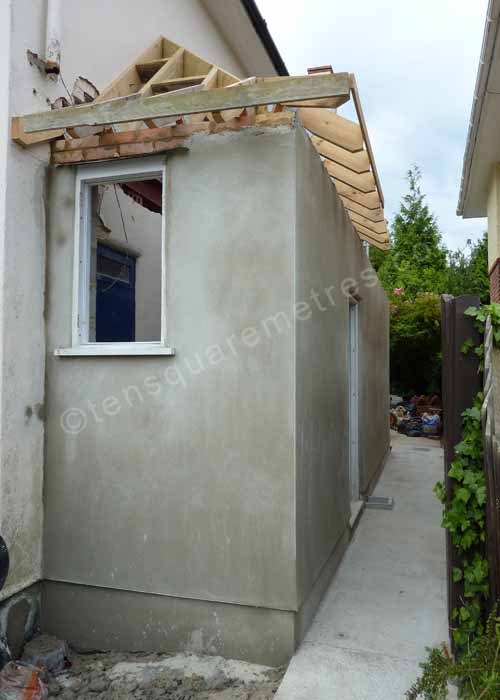
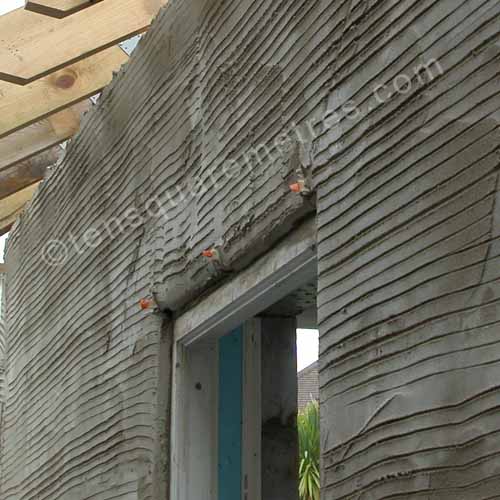 July 2009: The "strike" coat. At the strike coat stage the specialist beads and trims are bedded into the render.
Rendering is done in two coats. There is a "strike" coat or undercoat and then a thinner top coat that gives the finished surface. At the strike coat stage the specialist beads and trims are bedded into the render. These are used to give sharp corners, allow for expansion (Movement Beads) or add particular features. At the base of our wall they used a Bellcast Bead to form the plinth. This is a small lip over the damp proof course to match the existing house. They also copied the way the render curves into the window and door frames.
 July 2009: The finished "strike" coat for the render.
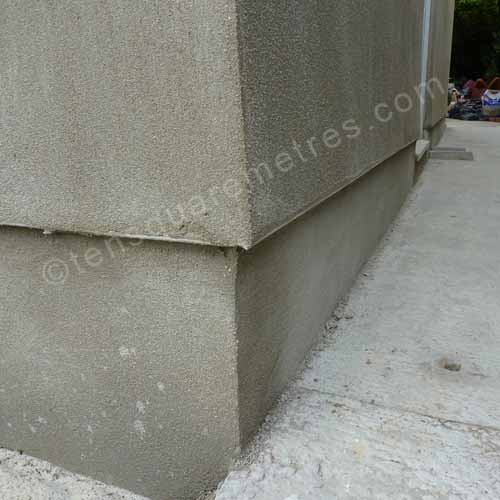 July 2009: The Bellcast Bead for the plinth. This matches the existing plinth on the house.
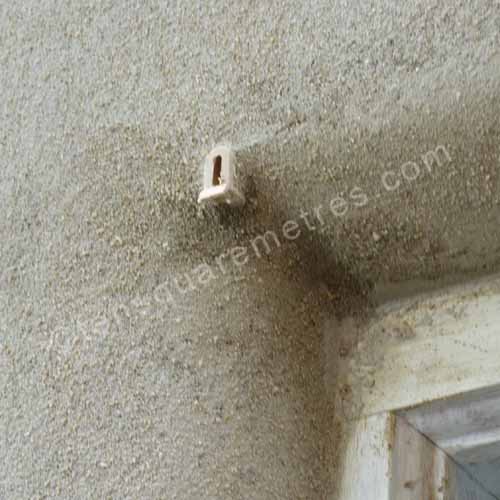 July 2009: A weep hole where the render curves into the door frame.
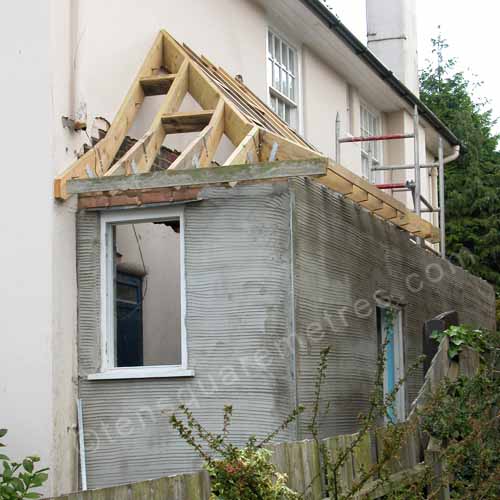
 July 2009: The finished render.
If you have found this website useful please tweet / like / etc... and pass it on!
© 2010- tensquaremetres.com | Privacy | Search | Contact | About